The Kitchen is very small, with a very limited amount of space for storage. The previous owners had some wild thought to put up the most horrendous wallpaper I have ever seen! I can't even explain it....sort of a grassy, bamboo, weave thing. (Unfortunately, there is something similar in the hall bathroom as well) They as well, attempted to apply texture to the walls. Remember, this is an older manufactured home, the walls are made from a pre-wallpapered material. The home made texture looks like ceiling popcorn! What I thought was going to be a nightmare to remove, actually has come off quiet well, although much of it ends up in my face. The wall paper has come down fairly well as well. Some good scraping with a kitchen utensil took the paper off and then I sprayed the wall with hot water, let it sit for just a few minutes, long enough to loosen the glue and it scraped off very nicely. Just a good hot sponge to completely remove the paste and the walls looked just like they did originally. So far I have half of the Kitchen walls done. (the side with the fridge and sink)
I am now in the process of removing the upper cupboards above the sink. The walls will be painted, I'm thinking a creamy white) and then I will replace the cupboards with shelves. I am choosing the shelf method because it will actually give more storage room, and...hopefully...give the feeling that the room is larger?
I am trying to do this all on a very small budget. There are no plans to replace the counter tops, and being it is a manufactured home, new cabinets would be too heavy. I have done some research on painting the press-board made cabinets and believe it'll be possible. Since the Formica counter tops are a cream, I am leaning toward painting the cabinets a color very close to it. I would rather do a red, but after giving it way to much thought, the cream seemed better since the appliances are whit eand there is wood trim that I think I will need to work with......anyway, I can not picture red cabinets, cream counter, white appliances and white shelves and wall. New flooring will be the last project.
It'll come together some how. I tend to just go on the spur of the moment thing. Planning ahead takes too much thought. I'll post pictures as I go here. If any one has any other ideas.....PLEASE, feel free to throw your ideas my way.
Kitchen BEFORE


A cooks dream! NOT!

Notice the weave wallpaper???

Texture the walls?? Suuuuure....why not?
What in the heck was that person thinking!?!?

Another shot of the "popcorn" wall.


Kitchen DURING renovation

Wall paper comith OFF!

Wall paper and popcorn coming off!
(Notice the lovely room in the back? It's time will come too!)

Wall paper coming off slowly......most of what is left here, is the glue.

Wall paper off, popcorn off. Now it's time to get the glue off!

Even with the glue.....I think it looks BETTER!
I have removed the cupboard on the right above dishwasher.....the others on the fridge side are coming down tonight! I have already started painting shelves. Some wall repairing and it'll be ready for paint.
Finally! Some new updates on the Kitchen!
 Cupboards down, walls primed and partly painted. Shelving are in the process of being painted now.
 My Dad had some left over bead-board pieces that just happen to be the same as what was already in place on a wall next to the kitchen, so this worked great! The wall here above the oven had been textured by the prior owners. It resembled a popcorn ceiling! I had already removed some of this....creative (?) wall covering from other parts of the kitchen, so when I saw that Dad had some of the bead-board, I figured it would be much easier to place that then do another week of scrapping!!!!
 Now there is a home for fat Chicken!!
I had to take a break from working on the Kitchen......back slipped a disk! Ouch! I am now back on track. Here is how it has gone these last few weeks.
 Cabinets down, wall primed and painted. I'm starting out with a simple white that matches the rest of the house. A free can of paint found in the garage! It took 3 layers of primer to cover the walls that are made of a pre-wallpapered Sheetrock material. It was ugly! Spaces between boards had to be filled and sanded.
 Shelving up! I choose to paint them white as well, for now. It makes the Kitchen feel larger and brighter! The cost on this project as of now........about $60. That's total! Paint was free as he already had that and the Spackle and mud was found in the garage as well. I just needed to purchase the shelves and brackets!
It is still very bland, but it will be a project I will continue to work on through the next couple of months. I am currently trying to decide on what colors to paint the lower cabinets. I will need to remove the doors and sand everything first. I am trying to keep this a very low key project. Just focusing on small changes. The flooring will need to be replaced as well. Mike and I have two different opinions on what look to go for there.....
I have yet to find the back-splash for above the Range, so that side has not been finished.
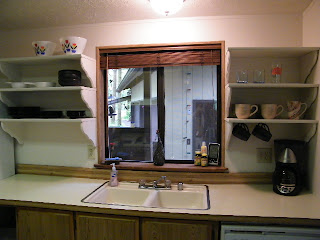 Just starting to replace the dishes back! We have been using the dishwasher to store the cups and mugs in while doing this project (the dishwasher stopped working on us, so it made for good storage!) The rest where squeezed into a small pantry so having them out is so much easier now! I'm on the hunt for some colorful curtains/Valance for the window, as color is something this room needs. As you'll see in the next picture, I will need to work on Mike and his choice of dishes. NASCAR is fun to watch on TV, but not so much in your Kitchen!? Goodwill will be a great place to find dishes that will look better on a open shelf. Oh...that means I can go shopping soon! Believe it or not, these shelves actually add so much more storage space then the original cupboards did! I should have taken pictures of the insides of them, Mike had them so loaded up and stuff stacked on each other that it was scary to touch anything for fear it may cave in on you!
 NASCAR and Trail Blazer cups.
What else can you say? It was a Bachelor pad.
We'll keep working on it!
I'll post more as I continue to improve on this little room.
UPDATE:
We had a slight issue not long ago, in that the brand new Dishwasher that we put in, leaked. Because the home is so old, the original pipes under the sink and to the dishwasher failed. We came home to a lake! This caused some new ideas to come up with the Kitchen. The cupboards under the sink had to be removed and new ones were built. Out of real wood! I am in the process of painting those now.
The Flooring had to be replaced as well, which actually was a blessing! It needed it! We now have wood floors. We took the wood into the Laundry room as well, and in the process, decided to remove the carpeting in the dining area and continued the wood in there as well. Much, MUCH better.
 TA DA!! New Cupboards, Shelves, Flooring, and Window Valance!
 Laundry Room in the back updated as well with new flooring, pine wood paneling (the mans choice, which turned out better then I thought it would, not liking paneling! But it's a real wood and is rough so it makes it feel more cabin(y).) We re-did the cabinets in there as well.
 Believe it or not, I have a lot more storage room WITH the shelves then I did with the upper cabinets.
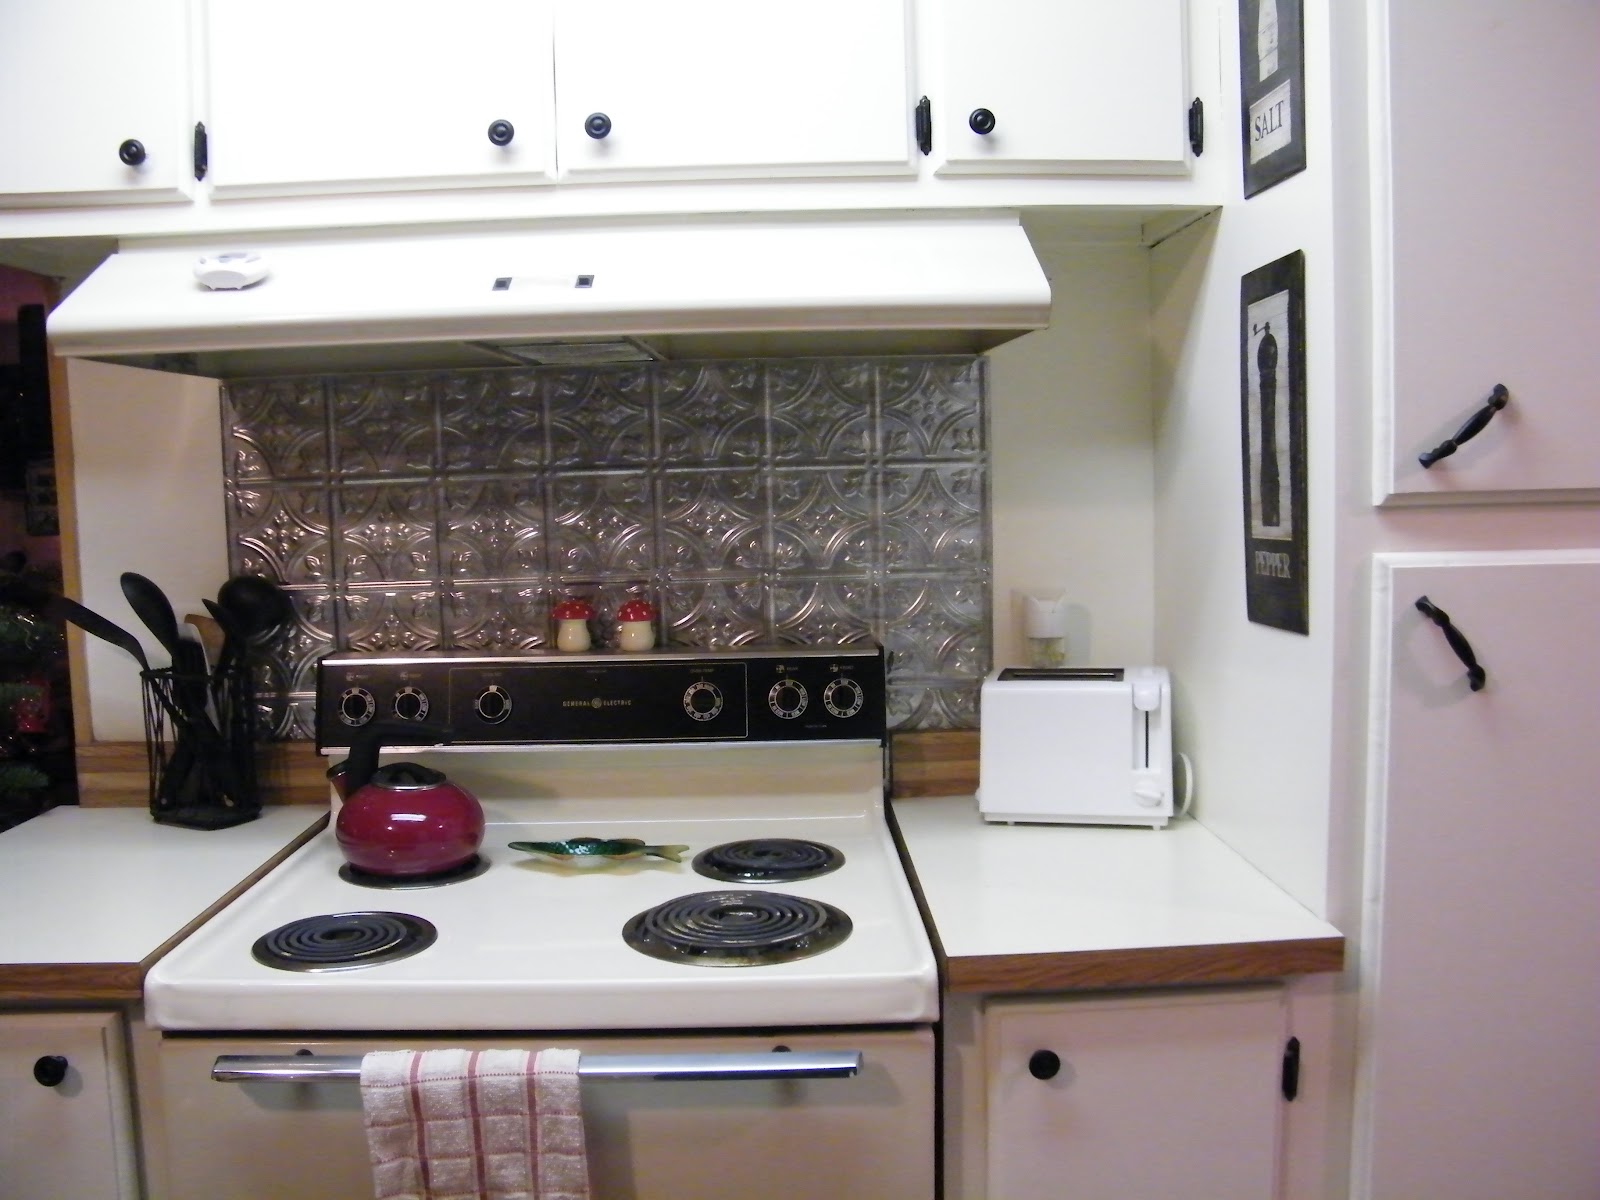
 2 Sheets of faux metal tiles bought at Home Depot, and we have a back splash for the Stove.
Kitchen is now complete. Looks and feels much more open and airy!!
Finally! Some new updates on the Kitchen!


I had to take a break from working on the Kitchen......back slipped a disk! Ouch! I am now back on track. Here is how it has gone these last few weeks.


It is still very bland, but it will be a project I will continue to work on through the next couple of months. I am currently trying to decide on what colors to paint the lower cabinets. I will need to remove the doors and sand everything first. I am trying to keep this a very low key project. Just focusing on small changes. The flooring will need to be replaced as well. Mike and I have two different opinions on what look to go for there.....
I have yet to find the back-splash for above the Range, so that side has not been finished.


What else can you say? It was a Bachelor pad.
We'll keep working on it!
I'll post more as I continue to improve on this little room.
UPDATE:
We had a slight issue not long ago, in that the brand new Dishwasher that we put in, leaked. Because the home is so old, the original pipes under the sink and to the dishwasher failed. We came home to a lake! This caused some new ideas to come up with the Kitchen. The cupboards under the sink had to be removed and new ones were built. Out of real wood! I am in the process of painting those now.
The Flooring had to be replaced as well, which actually was a blessing! It needed it! We now have wood floors. We took the wood into the Laundry room as well, and in the process, decided to remove the carpeting in the dining area and continued the wood in there as well. Much, MUCH better.


Kitchen is now complete. Looks and feels much more open and airy!!
No comments:
Post a Comment